How to Waterproof a Basement Like a Pro
DIY basement waterproofing can permanently solve some basement moisture issues


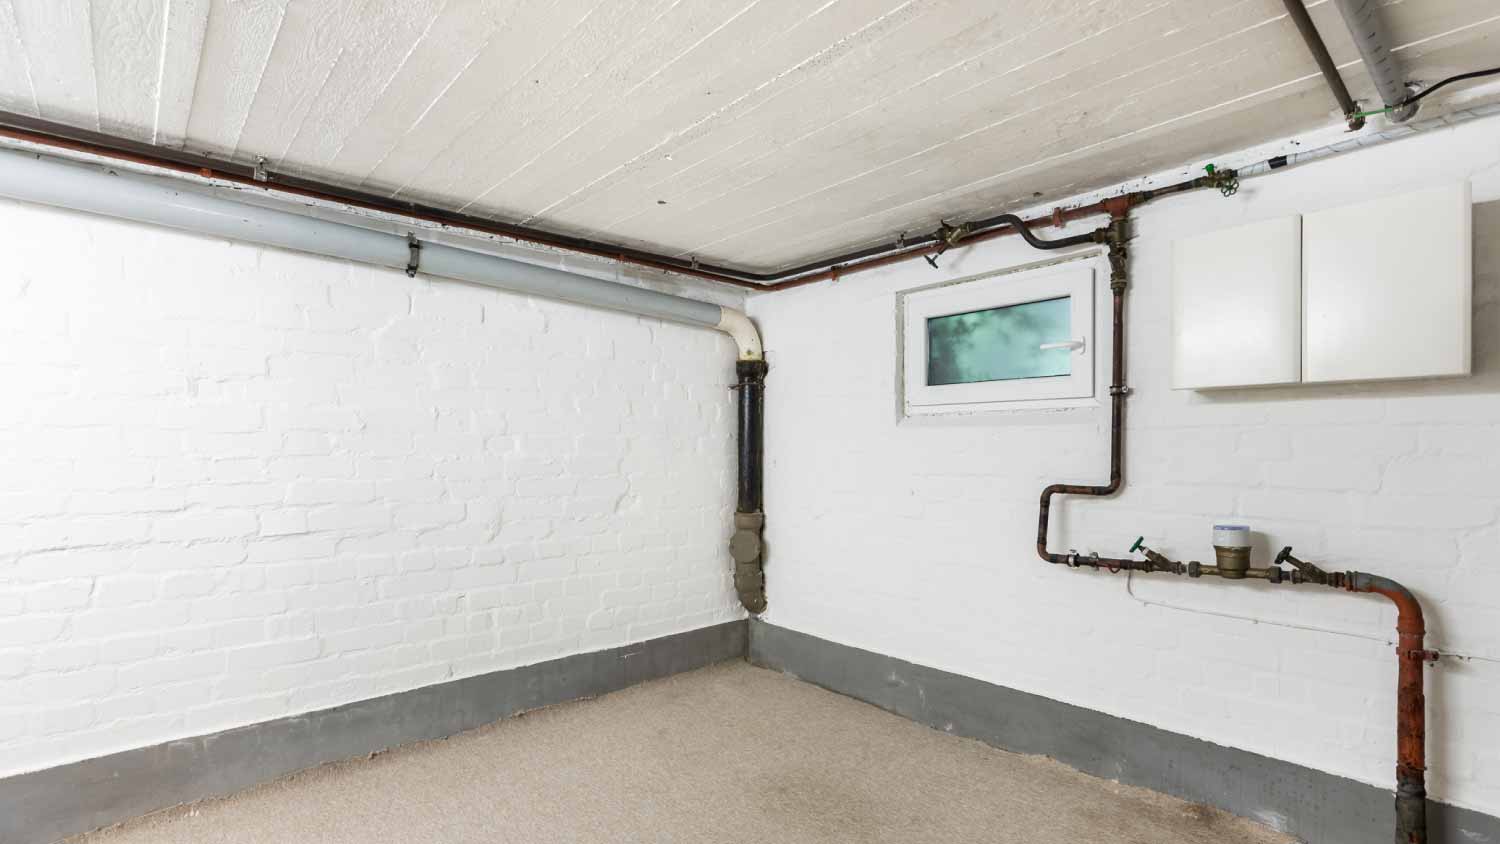
Basements are often a hotspot for standing water, moisture, and all of the related problems they bring, including pest infestation, mold growth, and even structural damage to your home. While some waterproofing jobs are best left to the professionals, there are some things you can do yourself to mitigate moisture and water problems in your basement. In this guide, we’ll explain exactly how to waterproof a basement yourself, when you should call in professionals, and more.
Why Do I Have to Waterproof My Basement?
While basements will usually hold up to moisture and naturally prevent water intrusion in most climates for years after construction, they will eventually let liquid water or water vapor into your underhome area. Moisture can get in through cracks in the concrete, which form on virtually all foundations, and it can wick directly through the porous concrete. This can create a slew of problems, including the following:
Water damage
Rotting building materials
Structural damage
Mold growth and decreased indoor air quality
Less comfortable air on your main floors
Decreased indoor air quality
Not only can these problems occur, but they tend to get worse over time, as the space under your home tends to be poorly ventilated, which promotes moisture accumulation. Waterproofing methods can help keep runoff and groundwater away from your basement to prevent problems, as well as remove water and moisture that does get in to stop mold growth, pest infestation, and the rotting of building materials.
How Much Does It Cost to Waterproof a Basement?
The average cost to waterproof a basement is around $5,500, but you could spend anywhere between $100 and $30,000, depending on the extent of the problem and the underlying cause.
Simple DIY solutions like grading your soil, installing downspout extenders, and sealing hairline cracks in your foundation can cost around $100. A slightly more involved combination of solutions that also includes sealing the walls and floor as a DIY project and adding a dehumidifier can cost $600 to $1,000.
If you need additional preventative measures carried out by a professional, your total could be significantly higher.
How to Prep for Waterproofing a Basement
As with most home repair and maintenance projects, the first step is to figure out where and why the problem exists. Fortunately, concrete walls and floors give up their secrets pretty easily.
First, we recommend a DIY foundation inspection to uncover the likely source of the issue.
Foundation Cracks: Look for foundation cracks that are wider than one-eighth of an inch or have wet spots around them, especially after heavy rain. These are good indications that the cracks are the culprit and that sealing them is your best option.
Efflorescence: If you notice a white, powdery substance on your foundation walls, it’s likely that moisture is wicking in through the concrete and evaporating. An exterior drainage system like a French drain should do the trick, but you might be able to get away with a gutter system and soil gradation.
Standing Water: Standing water is a more severe issue that’s normally caused by a plumbing leak or a major leak through a large foundation crack.
Localized Mold Growth: If you find mold growth in your basement bathroom, kitchenette, or exercise area, the humidity created by showers, sinks, stovetops, or heavy breathing could be the culprit.
Puddles on the Floor. Puddling could be a sign of groundwater coming in through your foundation floor, or the result of severe crack leaks or interior plumbing leaks.
Once you know where your issue is stemming from, you can apply the appropriate solution.
How to Waterproof Your Basement’s Interior

There are quite a few ways to waterproof your basement, and the strategies you should use will depend on whether you need preventative measures to ensure that water infiltration doesn’t happen or more intense methods if you need to stop a problem and keep it from happening again.
Remove Water and Mold
Your first order of business should be to remove any standing or pooling water and mold from your underhome area to maintain a safe working environment.
Wait until the standing water is gone before attempting any work. Use a wet/dry vacuum to remove puddles from the floor.
Mix one cup of bleach per gallon of water and use a stiff-bristled brush to remove small amounts of mold from affected areas. Always wear gloves and a respirator when working with mold.
For large amounts of mold, hire a mold removal specialist near you to remove it.
Install a Dehumidifier
In mild cases, a powerful, portable residential dehumidifier might prove effective enough to postpone or avoid other waterproofing approaches.
Place a dehumidifier in a central location. Consider running two of them if the space is large or the basement is particularly humid.
Ensure that you empty the machine’s reservoir often or that its drain line empties directly into a floor drain.
Seal Windows and Doors
If you’ve noticed leaking, visible gaps, or water damage around windows and doors, you can seal the wall openings to keep water and water vapor out.
Check window wells to ensure the soil level is well below the bottom of the basement windows.
Caulk around basement windows inside and out to prevent water from seeping in.
Caulk around any exterior doors and ensure that the threshold properly seals against the floor to prevent rainwater from trickling underneath.
Clear out any debris over drains that sit at the bottom of exterior stairs that lead to a basement door. Proper drainage will help prevent leaking.
Repair Cracks
Cracks can occur anywhere on the floor or walls of your foundation. If you find flat cracks that are less than one-eighth of an inch wide, you can usually seal them yourself without much of an issue.
Use a soft brush to remove loose dirt and debris from cracks. Be gentle, and stop to call in a professional if you notice pieces of your concrete foundation coming up.
Mix a small amount of hydraulic cement with water according to the manufacturer’s directions until it reaches a thick but workable consistency. You can also opt for a one-step foundation crack sealer, which is usually epoxy.
Fill the cracks by forcing the cement or epoxy into them with a putty knife. Wear latex or similar gloves to prevent skin irritation.
Work quickly as hydraulic cement begins to cure within a few minutes.
Seal Concrete Surfaces

Applying a waterproof paint substance to your basement walls won’t stop liquid water from coming in, but it will help reduce how much water vapor makes its way inside. This isn’t a standalone solution, but it can be a great supplement to other solutions.
Scrub the walls clean of dirt, debris, efflorescence, salt, lime, mildew, or mold. You’ll need to reach bare concrete for the waterproof paint to adhere properly.
Remove any existing paint with wire brushes or hire a paint removal specialist to sandblast the walls and floors if necessary.
Apply three coats of waterproof paint with a roller or brush to areas suspected of leaking or seeping water.
Apply two coats of the same waterproof paint to all other concrete surfaces.
How to Waterproof Your Basement’s Exterior
Most of the methods you can use to waterproof the inside of your foundation are easy to do, but they’re considered reactive since they address water and moisture after they’ve entered your underhome space. Using preventative measures outside your home is often a better and more permanent solution.
Alter Landscaping
You can often reduce basement water and moisture problems by changing the landscaping in your yard to improve runoff. A proper slope away from your home will help direct water toward your yard rather than toward your foundation.
Dig out window wells until the soil is several inches below the bottom of the windows.
Use a shovel and an iron rake to grade the soil away from your foundation. The ideal slope is about 1 inch per foot for five to ten feet around the perimeter of your house.
Ensure that the soil doesn’t reach the height of the home’s siding or sill plate.
Remove any vegetation within a foot of the foundation.
Refrain from watering or installing an automatic watering system near the foundation.
Check Your Gutters
Making sure you have a properly functioning gutter system is one of the most effective ways to reduce the risk of a damp basement.
Check your gutters for holes, leaks, and proper slope when it’s raining, or add water with a garden hose to do spot checks. Call in a gutter professional if you find issues.
Install downspout extenders to the ends of the downspouts to move runoff at least four feet away from your foundation.
Clear out any clogs or blockages that might cause runoff to flow over the sides of your gutters and fall next to your foundation.
Install Exterior Drainage
An exterior drainage system is often the best preventative measure if your gutter system isn’t doing enough to mitigate moisture issues. Some foundation drainage systems—like footing drains—aren’t suitable for DIY installation, but experienced DIYers can often tackle French drain installation.
Dig a trench around the perimeter of your property that’s between one and two feet in length and around one foot wide. Slope the trench downward toward one area for disposal.
Dig a connecting trench from that low point to an area on your property where you can safely direct excess runoff. You may need to consult a professional to ensure the area is suitable and legal. Slope this trench downward as well, away from your property.
Lay a perforated drain pipe in the trench with the perforations facing upward.
Connect the pipes.
Carefully backfill the trench with gravel.
Tips for Waterproofing a Basement
Basement waterproofing is an art rather than a science, so there are a few tips to keep in mind to help you get a waterproofing system that will work for your specific property.
Start with a foundation inspection and do your best to find the source of the problem and the underlying cause.
Get help from a basement waterproofing company near you to come up with a plan and series of waterproofing methods for your property.
Tailor your solution based on your soil type and climate. Areas with heavy rain and absorbent clay soil typically need more extensive waterproofing systems.
Combine exterior and interior waterproofing methods for both preventative and reactive measures and redundancy.
DIY the solutions you feel comfortable with, but always call in a pro for things like sealing wide or uneven foundation cracks, installing an interior drainage system, or excavating close to your foundation.
DIY vs. Hiring a Pro

Foundation waterproofing might only require minimal work, in which case DIY solutions might suffice and eliminate the risk of a damp basement. Feel free to DIY the following waterproofing strategies if you’re comfortable with them:
Sealing windows and doors
Installing a portable dehumidifier
Grading soil away from your home
Making sure your gutter system is working properly
Applying waterproof paint to the inside of your foundation
Clearing stairwell drains to avoid clogs
If your waterproofing system requires any of the following, we suggest calling in a professional for the best results:
Installing an interior drainage system, like a sump pump or basement floor drain
Applying waterproof paint, damp proofing, or a protective membrane on the outside of your foundation
Installing a footing drain
Fixing issues with gutters and downspouts
Sealing large or uneven foundation cracks
Treating large sections of mold
Installing a permanent dehumidifier
Installing a vapor barrier in your basement
Additionally, we strongly recommend calling in a professional to help you find the source of the leak, identify the underlying issue, and help come up with a comprehensive waterproofing plan that will keep your basement safe and dry.
It’s also worth mentioning that DIY work doesn’t come with any guarantee, while many professional jobs come with a basement waterproofing warranty that helps ensure you won’t have recurring problems.
Frequently Asked Questions
The best way to waterproof a basement is to install a properly functioning gutter system and a French drain around the outside of the foundation. The best solution for your home could involve other waterproofing methods that resolve the problem unique to your situation. Depending on your soil type, climate, and other factors, that could include sealing, landscape alteration, interior drainage systems, and more.
The least expensive basement waterproofing methods include grading soil away from your home, installing downspout extenders on your gutter system, and applying a waterproof paint on the interior of the foundation walls. Installing a French drain is a relatively inexpensive method if you do the work yourself, although it’s labor-intensive and can be challenging to install properly.
Since basements are prone to water and moisture issues and the resulting problems can be expensive to repair and potentially damaging to your home, basement waterproofing is almost always worthwhile. Even for homes that haven’t experienced water infiltration, waterproofing the basement is insurance against facing expensive repair bills in the future. All basements will leak at some point, so fixing drainage issues and taking steps to prevent moisture and water infiltration is wise.