The Ultimate Room-by-Room Spring Cleaning Checklist
Spring cleaning, simplified


If your home is in need of a deep clean, this room-by-room spring cleaning checklist will help keep you focused while providing tips to clean even the trickiest places.
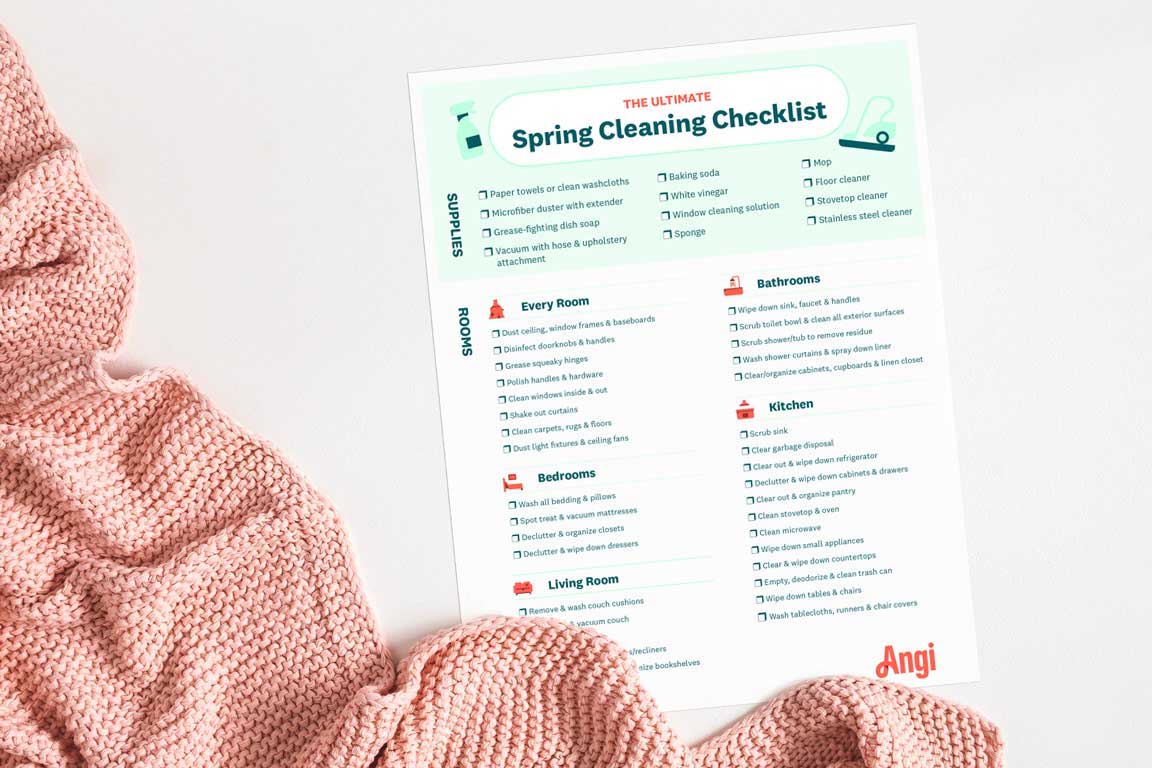
For a free printable PDF of our ultimate spring cleaning checklist, click here.
Cleaning Products and Tools
Paper towels and/or clean microfiber cloths
Handheld microfiber duster
Grease-fighting dish soap
Vacuum with a hose and upholstery attachment
Baking soda
White vinegar
Window cleaning solution
Sponge
Wet mop
Floor cleaner
Flashlight
WD-40 or olive oil (optional)
Stovetop cleaner (optional)
Stainless steel cleaner (optional)
Storage bins and totes (optional)
Drain cleaner (optional)
Before You Get Started
For successful spring cleaning, it’s important to be prepared and have a game plan. Here are a few things to keep in mind before you dive in:
Tackle one room at a time—Cleaning can feel overwhelming when there’s a lot of ground to cover. Tackling one room at a time can keep you calm and focused. If it helps, go even further, and break up the room you’re working on into invisible “sections” so you can focus on cleaning one section at a time.
Get rid of things before you start cleaning a room—Spring is a time for renewal and a fresh start. Take inventory of your things, and get rid of what you don’t need. It’s best to comb through your closets, dressers, drawers, and storage boxes before you begin physically cleaning a room. It may help to designate space for four distinct piles—keep, trash, donate, and storage.
Don’t just clean, organize—Spring cleaning may have “cleaning” in the title, but organization is key here. Analyze your current organization system. Ask yourself, is it really working for you? If not, start by determining a better process, and get the tools you need to finally get organized, such as clear containers for better pantry organization or labels and dividers for optimum closet organization.
Get the right cleaning supplies without overdoing it—With so many different cleaning brands and scents to choose from, it’s easy to get carried away with cleaning supplies. While it’s important to have the right tools and products, you don’t want to overdo it and be left with a pile of spray bottles and containers taking up valuable storage space. The most versatile cleaning solution is equal parts vinegar and baking soda in a spray bottle.
Don’t try to do it all—Spring cleaning is exciting and refreshing, but it can become overwhelming quickly if you try to do it all. Give yourself time to complete everything you need to over the span of a month (or longer if needed). Don’t sweat what’s not finished. Tackle the leftovers on your list during the summer, or put it off till next year.
General Cleaning Tips for Every Room

Each room has its own unique cleaning challenges, but there are a few basics that can apply to the entire house.
Dusting
When dusting, use a handheld microfiber duster with an extender. This convenient tool cleans hard-to-reach places, including the ceiling, light fixtures, baseboards, and the tops of cabinets.
Sick of dust build-up? Reduce the amount of dust in your home by vacuuming regularly, cleaning vertically, and taking your shoes off at the door.
Pro cleaning tip: Don’t forget to dust your plants! Particle build-up on leaves can actually block the absorption of sunlight.
Doorknobs, Hinges, and Handles
Doorknobs and handles are touched constantly throughout the day, building up layers of dirt and bacteria with each use. Use a mild soap and warm water or an all-purpose cleaner to clean and disinfect.
If you come across squeaky doors or cupboards, apply WD-40 or a small dab of olive oil on a paper towel directly to the hinge.
Windows
Before cleaning the glass, start by dusting around the frame to catch cobwebs and dust. To clean the glass, you’ll need either paper towels or two microfiber cloths (one for cleaning, one for drying). If you don’t have glass cleaning solution on hand, diluting one part vinegar with two parts water creates a DIY cleaner that works just as well.
Curtains
Curtains can collect dust and odor over time, so it’s a good idea to freshen them up while spring cleaning. Check the tag to make sure your curtains are washing-machine safe. If so, it’s usually best to wash them on a cold, gentle setting with a mild detergent. Air dry after washing to prevent shrinking.
If you don’t want to risk damaging your curtains, consider taking them to a dry cleaner. At the very least, take them outside to shake them off.
Carpets, Rugs, and Floors
No matter how often you vacuum, it’s tough to make a carpet or rug truly look and feel clean (especially if you have pets and kids). Spring cleaning is a perfect opportunity to break out the carpet shampooer if you have one. If not, consider hiring a local carpet cleaning service to do the work for you.
Need a simpler solution? Simply sprinkle a liberal amount of baking soda into the carpet. Let it sit for at least 15 minutes to absorb the odor before vacuuming it up. If you have hardwood or vinyl floors, vacuum first, and then mop with a floor cleaner.
Pro cleaning tip: Always clean your floors last to pick up dust that falls while cleaning other surfaces.
Light Fixtures and Ceiling Fans
Cleaning light fixtures and ceiling fans can be tricky. Start by using a microfiber duster with an extended handle to clear the larger dust particles first. Then, use a damp microfiber cloth to wipe down the fan blades and fixtures. If you can, remove the glass portion of the lighting fixture first to give it a thorough cleaning with warm water and dish soap.
Spring Cleaning by Room

Bathrooms
The bathroom is typically the most dreaded room to clean, but it feels the most rewarding once it’s finished.
Sink—Use an all-purpose cleaner and a fresh cloth or paper towel to wipe down the sink and surrounding countertop. Don’t forget the faucet and handles, too. This is also the time to tackle slow-draining sinks with a store-bought drain cleaner or a DIY mixture of equal parts baking soda and vinegar.
Toilet—Start by cleaning the inside of the bowl first using a toilet scrubbing brush and a toilet bowl cleaner (baking soda and vinegar works well, too). Then, use a clean towel and an all-purpose cleaner to clean the outside of the toilet. Don’t forget to clean between each seat and the lid.
Shower/Tub—Throw away empty shampoo bottles and old loofahs. Spray the entire shower with an all-purpose cleaner, and scrub with a clean sponge. For tough grime that won’t budge, spray vinegar over top, and let it sit for 20 minutes—the stains should easily scrub off.
Don’t forget about the shower curtains. Most linen curtains can run through the wash on a gentle cycle, check the tag to be sure. For the liner, mix equal parts vinegar and baking soda in a spray bottle and drench completely. Let the mixture sit for 20 minutes before rinsing it off with the shower head.
Cabinets, cupboards, and linen closets—Take everything out, and get rid of old items you no longer use, including old makeup, raggedy towels, unused hair products, expired medicine, etc. Wipe down handles and hardware with a couple dabs of all-purpose cleaner on a paper towel. Continue on by wiping down the shelves to clean makeup stains and spilled soap.
Bedrooms
The trickiest part of cleaning a bedroom is knowing where to start. Use this bedroom cleaning checklist to come up with your own game plan.
Bedding—Strip all of the bedding, and send it through the wash. Did you know most pillows can go through the wash, too? With the exception of foam pillows, you can actually put pillows through a gentle wash cycle with a small amount of mild detergent. Read the tag for complete instructions.
Mattress—Cleaning a mattress may seem tricky, but it can be done! Start by spot treating any stains with a spot remover. Let the solution sit for at least 10 minutes before you wash it off with a damp cloth. Next, liberally sprinkle baking soda evenly over the entire mattress while the bedding is being washed. Before putting the bedding back on, clean the baking soda using a vacuum cleaner hose with an upholstery tool attachment.
Pro cleaning tip: Sprinkling baking soda helps to clean and deodorize furniture that can’t easily be washed. The longer you can let the baking soda sit before vacuuming, the better it works.
Closet—Remove everything from the closet, creating “keep, trash, donate, and storage” piles as you go. Dust the walls and ceiling, wipe down shelving with a damp towel, replace broken hangers, and create a better organization system as you move everything back in.
Dresser—Start by removing everything from the dresser, adding to your “keep, trash, donate, and storage” piles as you go. Wipe down both the inside and outside of the dresser with a warm, damp towel to pick up any lint and dust.
Kitchen
Spring cleaning the kitchen can be time consuming, so plan ahead to give yourself enough time to do a thorough job.
Sink—Use warm water, dish soap, and a clean sponge to clean the kitchen sink, faucet, and handles. Rinse the area with a clean, damp washcloth.
Garbage disposal—If you notice foul smells coming from your kitchen sink, there may be food trapped in your garbage disposal. To clean it out, pour a half cup of baking soda into the drain first, followed by a half cup of vinegar. Let the mixture sit for about 10 minutes before turning on the disposal while running cold water. Repeat as needed.
Refrigerator—Start by taking everything out (yes, everything—even the shelves if you can). Then, do the following:
Throw away old cans, bottles, jars, and other food items as you go.
Clean the fridge interior with a warm, damp towel and a small dab of soap.
Clean tough grime by diluting one part vinegar with one part warm water in a spray bottle. Spray the mixture on those spots, and let it sit for at least 10 minutes. Repeat as necessary.
Clean underneath a refrigerator with the help of a flashlight and a microfiber duster with an extendable handle. Run the duster underneath the refrigerator, and glide it back toward you to bring forward dust and debris. Repeat until everything looks clear.
Depending on your refrigerator material, use an all-purpose or stainless steel cleaner to buff out any stains or smudges on the exterior.
Cabinets, drawers, and the pantry—For most people, it helps to tackle one cabinet, drawer, or shelf at a time. First, take everything out of the unit you’re working on, and throw away or donate old kitchen items you don’t use. You can then clean the insides of the cabinet or drawer with a damp cloth while the unit is empty. Once dry, neatly organize the remaining items as you put them away.
Stove and oven—Follow these cleaning instructions based on the type of appliance you have:
Glass stovetops: Use store-bought stovetop cleaner or make your own with equal parts baking soda and vinegar. Distribute the solution evenly over the stove surface, and let it sit for 15 minutes before cleaning it off with a soft damp sponge or towel.
Gas stoves: Make sure all dials are turned to “off” before removing the grates, burner caps, and burners. Use a grease-fighting dish soap with a cloth or sponge to clean the stove surface and detached parts.
Ovens: Clean the inside of your oven with oven cleaner, or make a paste with 1/2 cup of baking soda and three heaping tablespoons of water. Brush the paste over the entire surface, avoiding the heating coils. Let the paste sit for at least three hours (six hours for especially dirty ovens), then pour white vinegar into a spray bottle and spray it over the paste. Let this sit for another hour before wiping up the mix with a damp sponge or towel.
Now your oven might have a self-cleaning feature, but should you use it? An oven self-cleans by using high temperatures (north of 600°F) to burn off dried food and grime. This process may generate potentially toxic fumes, especially for pets. If you choose this option, open surrounding windows, and keep both human and fur kids away from the kitchen.
Finally, use a stainless steel cleaner and a microfiber cloth to buff out any smudges on the stove exterior.
Microwave—If a microwave isn’t cleaned regularly, food splatter hardens to the sides, making it almost impossible to clean without breaking a sweat. Make it easy on yourself—loosen the grime by pouring equal parts water and vinegar into a microwave safe bowl. Microwave the bowl on high for 3–5 minutes so the mixture boils and steams. Use a damp sponge to clean the interior (dried food should wipe right off).
Small appliances—Empty the toaster oven and clean out any crumbs, wipe down the coffee maker with a damp cloth, and finally get the dried-up batter off the sides of the waffle maker.
Countertops—To properly clean countertops, you must take everything off the surface first, including appliances. Spray an all-purpose solution on a small section of countertop at a time and buff with a cloth.
Pro cleaning tip: Save this step for second to last (floors being the last step) to take care of any dirt or crumbs that have collected on the counter while cleaning the rest of the kitchen.
Trash can—Take out the kitchen trash so you can clean the can while it’s empty. Simply wipe it down with an all-purpose cleaner and a cloth. To remove unpleasant smells, sprinkle a liberal amount of baking soda in the bottom of the trash can, and let it sit for 20 minutes. Shake the excess off outside, and clean the remainder with a damp sponge or towel.
Table and chairs—Remove everything off your kitchen table. Use a damp cloth to wipe down the table and chairs, removing dust and gunk. Wash all tablecloths, runners, and chair covers if applicable.
Living Room
There’s nothing more relaxing than lighting a candle and kicking back in a freshly deep-cleaned living room.
Couches, chairs, and cushions—Start by taking everything off the couch and chairs, including blankets, pillows, and cushions. Check the inside of your cushions and pillows to see if the covers are removable. If so, put all cushion and pillow covers through the wash if it’s safe to do so (check the tag if you’re unsure).
While those are being washed, use a vacuum cleaner hose and upholstery attachment to pick up crumbs and dirt underneath the cushions. If the couch itself needs a refresher, evenly sprinkle a liberal amount of baking soda over the entire frame. Let it sit for at least 20 minutes to neutralize any odors before removing it with the vacuum hose and upholstery attachment.
Ask for a helping hand to move the couch so you can vacuum the floor underneath.
Bookshelves—Remove all books and decorations from the bookshelf. Consider getting rid of old items you no longer use. Take a damp cloth to all surfaces to remove dust before putting the remaining items back.
TV and entertainment center—If you can, try to remove everything off the entertainment center so you can wipe down all surfaces thoroughly without cutting corners. You may need to ask for help moving the TV to prevent accidentally dropping and damaging it.
Once everything is removed, wipe the console, the back of the TV, and all of the items stored inside with a damp cloth to remove dust. Buff out the front of the TV with only a clean, dry microfiber cloth. Strong chemical cleaners can damage the screen. Finally, go through all of the items you were storing in your entertainment center, and get rid of what you no longer use or want.