How to Make DIY Citronella Candles in No Time
Keep pesky mosquitoes at bay with homemade scented candles


You’re gathered around the patio table for burgers and hot dogs with the family, only to find the kids smacking their arms and scratching vigorously every few minutes. Mosquito bites are itchy and even painful, not to mention annoying. Keep mosquitoes from ruining your time outdoors this summer with DIY citronella candles. Best of all, you don’t need any prior candle-making experience to whip up a few for you and your neighbors.
Difficulty: 1/5 - No experience? No problem.
Time to complete: 1–2 days (time needed to set)
Cost to DIY: $3–$5 per homemade candle
What You’ll Need:
Tools
Hot glue gun
Kitchen scale
Double boiler
Kitchen thermometer
Scissors
Supplies
Candle containers
Candle wicks
Candle wax (a blend of soy and beeswax is best)
Citronella oil
Essential oils (optional)
Candle liquid dye (optional)
Clothespins
8 Steps to Making DIY Citronella Candles
1. Add the Wicks
Before you begin playing mad scientist with wax in the kitchen, you’ll want your candle containers to be primed and ready. You can use just about any heat-safe vessel you can think of, whether you purchase a bundle of glass candle jars online, reuse old candle vessels, or upcycle an old teacup or tin can. Use a hot glue gun to secure a wick in the center of each vessel, and let this dry.
2. Warm the Container
For the wax to dry evenly, it’s best to keep your container warm. Also, this can help minimize the risk of shattering, which can happen when adding hot wax to a cold glass container. Set your oven to the lowest possible temperature, and set the containers on the racks while you make the candles.
3. Measure the Wax
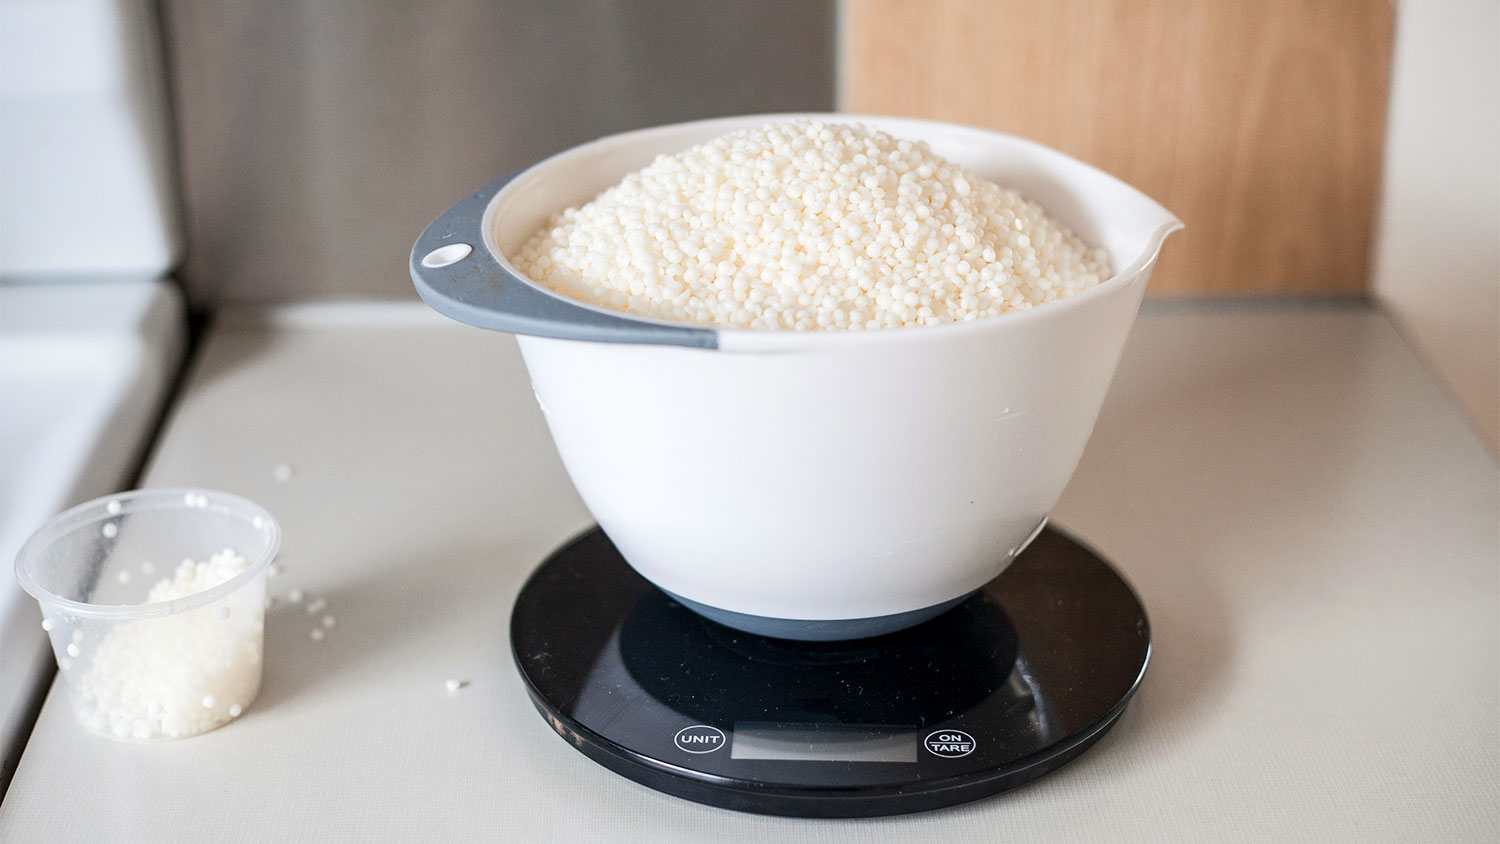
Next, use the kitchen scale to weigh out the wax. For candles that can withstand summer heat, plan to use about 80% soy wax and 20% beeswax. The amount of wax you ultimately need depends on how many candles you’re filling. For two 8-ounce candles, you’ll need about 10.5 to 11 ounces of solid wax.
4. Set up the Double Boiler
Add a large pot of water to the stove. Inside, nestle a smaller, heat-safe pot or container with a handle for easy handling. Add the measured wax into the smaller container, and set the heat to medium. The wax should be clear once it's completely melted, but check for a temperature of 185 degrees Fahrenheit if you're unsure.
5. Drop in the Citronella Oil and Optional Additions
Once the wax is fully melted, add about 1 ounce of citronella oil per pound of wax. At this stage, you can also add other essential oils that repel bugs and dyes to color your candle. If you decide to add other scents, consider pine, orange, or peppermint oil to complement the citronella.
6. Pour in the Wax
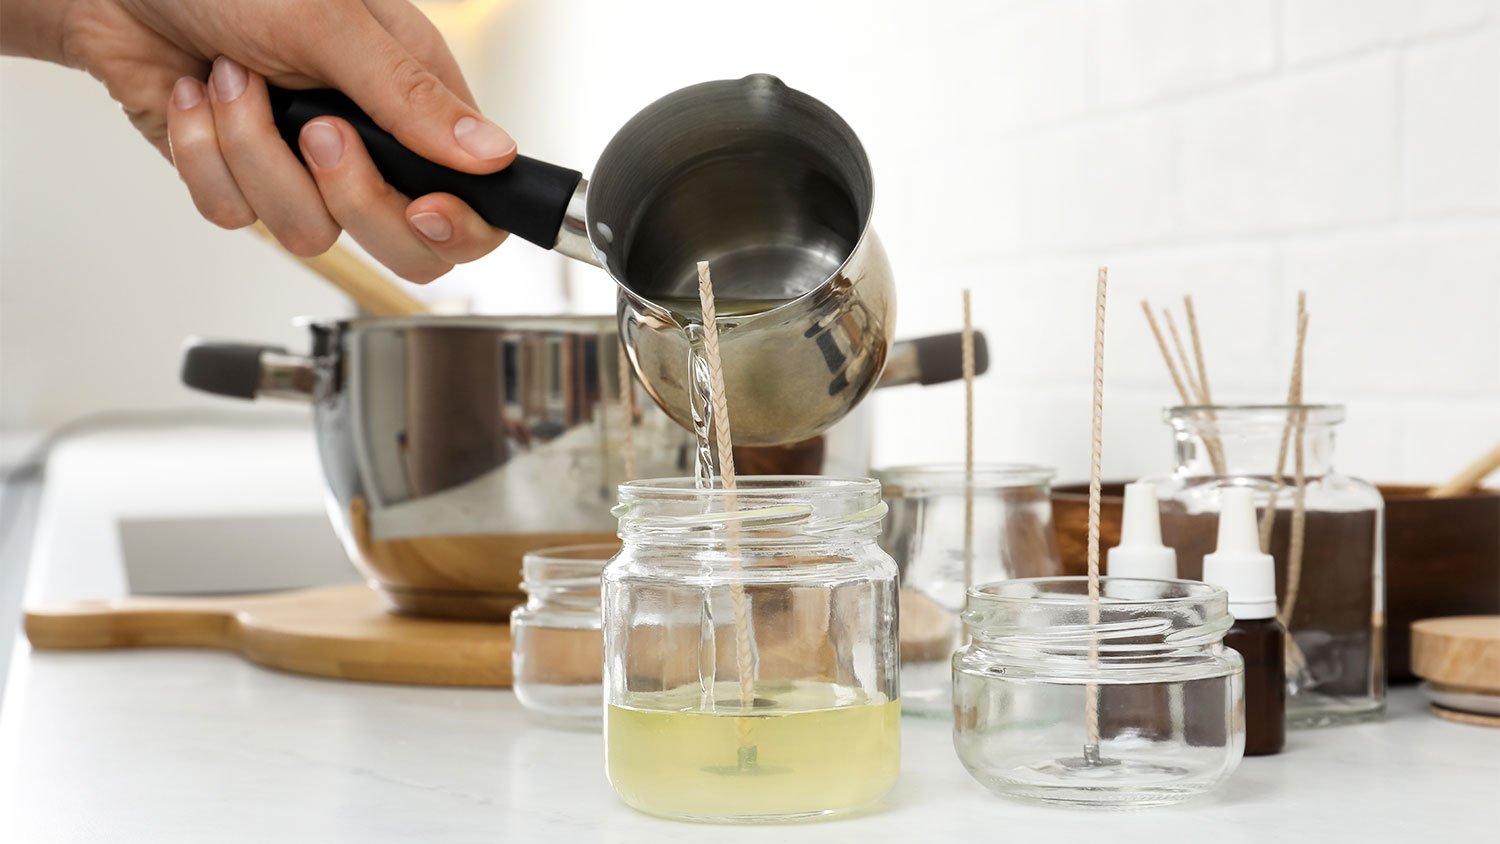
Turn off the stove and oven, and carefully pull the warmed jars out of the oven. Then, carefully pour the wax into the vessels, filling to your desired height. Leave some space between the top of the vessel and the wax, so the wicks can burn safely. Then, secure the wicks in place with a clothespin resting across the top of the candle container to make sure they don’t drift to the edge.
7. Allow to Cool and Cure
Keep the candles in a warm room away from drafts to make sure the wax cools evenly. This will help prevent bubbles or cracks on the surface of your candles. They’ll need to cool and cure overnight or up to 48 hours before burning.
8. Trim the Wicks
Trim the wicks to a height of about 1/4 inch above the surface of the wax. Place the candles on your patio table or deck, and light them as needed. In the future, every time you light the candles, make sure to trim the candle back a 1/4 inch, and remove any “mushroom” wicks for a clean and safe burn.
Enjoy your mosquito-repelling candles all summer long, and make more as needed.