Upholstering a headboard can transform your sleeping space in a totally luxe way. It allows you to stamp your personal style on the room, provides a focal point, and it doesn’t have to be a complicated or costly project.
Learn how to upholster a headboard using this simple guide—no fancy sewing or carpentry skills needed.
7 Steps to Upholstering a Headboard
Once you’ve gathered your supplies, it’s time to get started.
Disassemble or Cut Your Headboard
If you already have a functional headboard on your bed, reupholstering is simple. In this case, disassemble it and remove the existing fabric and backing. If the headboard has side rails and a footboard attached, you’ll need a screwdriver to separate all the parts.
Pro tip: Carefully store the screws so you don’t lose them—you’ll need them to reassemble your headboard at the end.
If your existing headboard isn’t in the best shape for an upgrade, or you don’t already have one, you’ll need to purchase a three-quarter-inch-thick MDF or plywood rectangular board. Hardware store employees will often cut the board to the desired size for you, saving you the hassle of doing this at home yourself.
Take accurate measurements for the desired height and width of your headboard before heading to the store. As a rough guide, the average headboard height is around 32 inches. For the width, use the length of your bed plus 20 inches, depending on how much of a statement you want to make.
For less-sharp edges, round the board’s top corners—but you’ll need a jigsaw and extra DIY skills for this job.
Cut Upholstery Foam and Cover the Board (Optional)
For a plush, comfortable headboard, add a layer of upholstery foam. When reupholstering an existing headboard, it may already have a decent reusable layer. But if it’s flat, in bad shape, or you’re starting from scratch with a plain board, you’ll need to buy some.
Lay the board flat on the floor. Place the foam on top and cut it to the right shape using a utility knife.
Secure the foam to the board with double-sided carpet tape or fast-drying adhesive spray. Alternatively, you can cut the foam to be a bit larger than the board and staple the overhang to the back of the frame with a staple gun. If you have screw holes later, take care not to cover these spaces.
A note on safety: If you use adhesive spray to secure the foam, work in a well-ventilated room, wear a mask, and keep pets and children away. Inhalation can be dangerous.
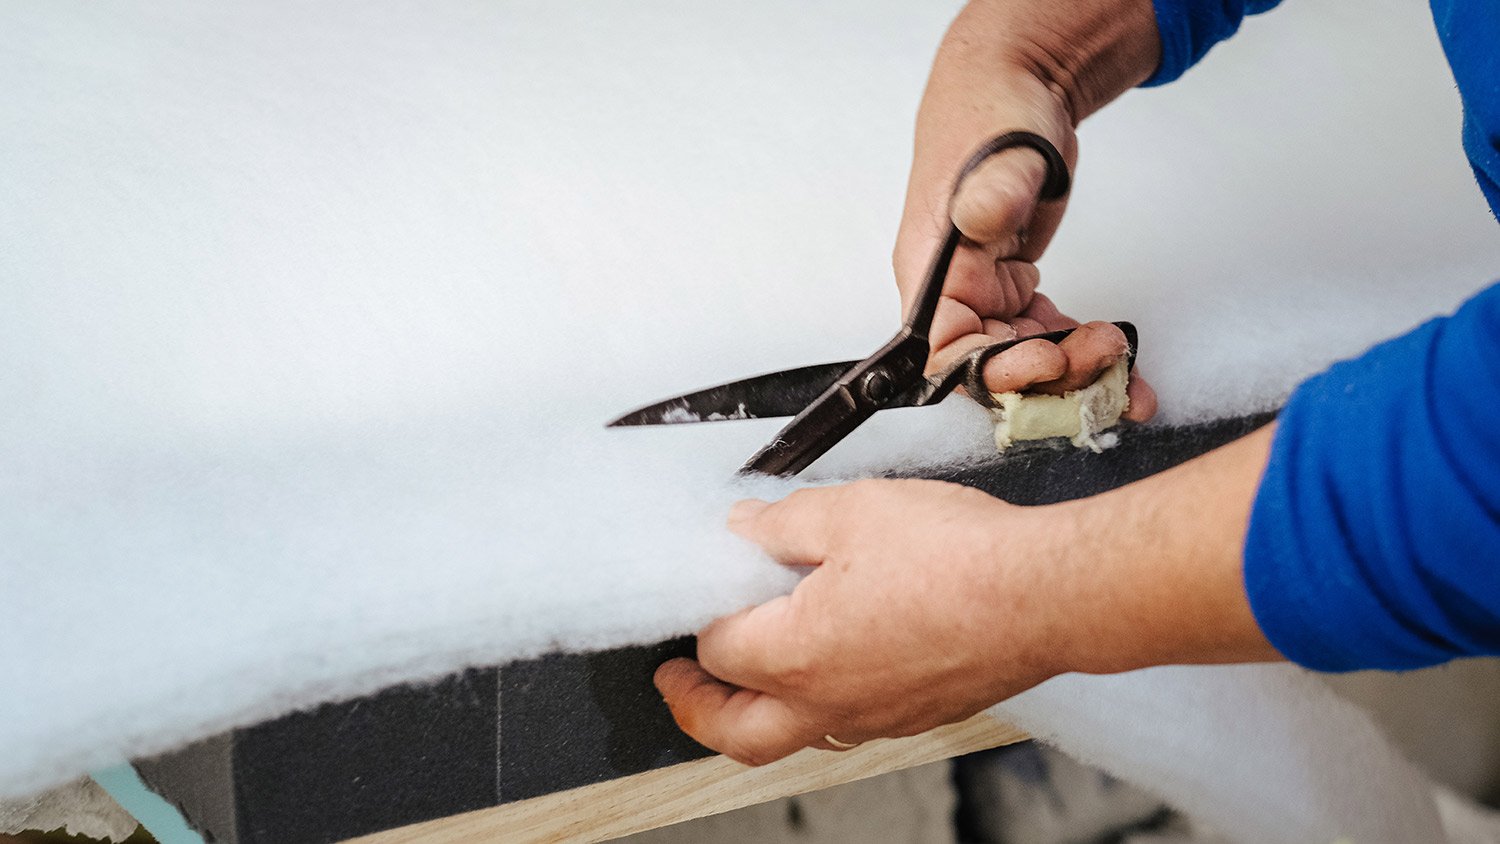
Add Batting
Photo: Wirestock / Adobe Stock
Batting isn’t as thick as upholstery foam, but it’s still soft and padded. If you want a bit of cushioning, but not the super-squishy feel foam provides, apply a layer or two of batting instead. Or, if you want a very plush finish, add batting on top of the upholstery foam. Bonus: It’s easier to create soft, round edges with batting, too, because you can shape it around the corners more smoothly.
For soft edges, make sure you cut 5 to 8 inches of extra batting around the entire frame for folding over to the back.
Pull the batting taut and staple it to the back of the frame. Stapling around 1 inch away from the edges will help ensure a smooth finish. Another tip: Staple one side first and then the opposite to prevent rumpling.
Cut and Wrap the Fabric
Depending on your headboard’s size, you’ll need around 2 to 3 yards of fabric. Cut the fabric to size with shears so about 5 inches folds over all edges.
Iron the fabric for a crease-free finish and, if it has a pattern that needs centering, take your time to position it correctly.
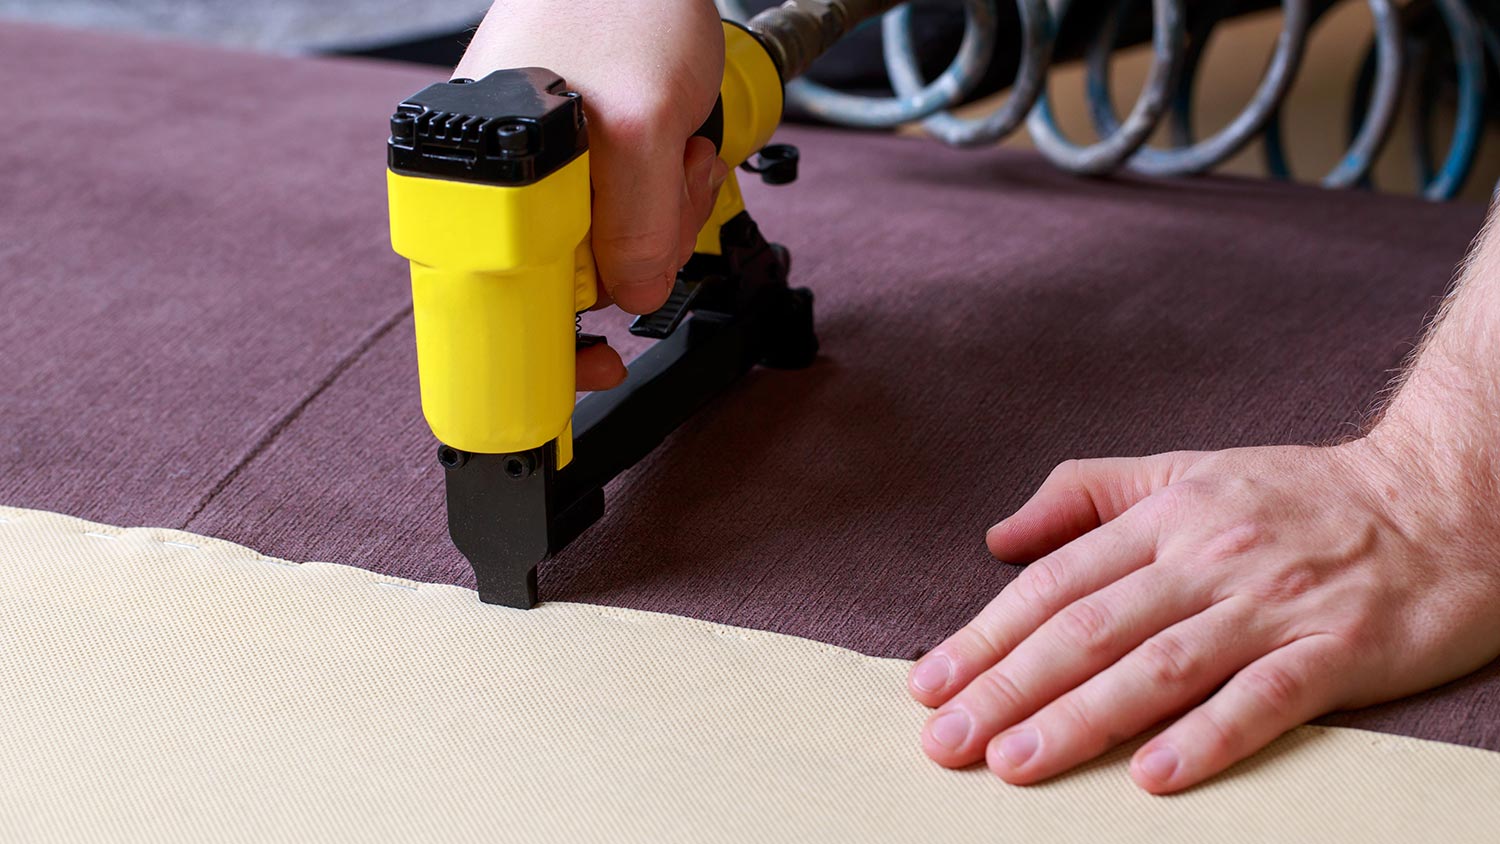
Staple Fabric in Place
Photo: deviddo / Adobe Stock
It’s important to keep the fabric taut—the last thing you want is a wrinkled, untidy finish. However, it’s a delicate balance: if you pull it too tight, it could pucker.
Staple close to the edge, working on one side first and then the opposite one. Be generous with your staples—one every few inches is perfect for a secure finish. Pay close attention to the corners, folding them over neatly to keep them smooth and tidy.
Add Optional Finishing Details
Now’s the time for personalization! You could run furniture nails or nailhead trim along the edges. To create a straight, uniform appearance, lay a ruler along the edge to keep the nails around 1 to 3 inches from the edge and space them evenly apart from one another. If you want to make the job easier, use a marker or nailhead spacer tool to show where you’re placing each one.
If you don’t want to tap in as many individual nails, opt for nailhead trim instead. That way, you only have to secure every fifth nail on the long trim.
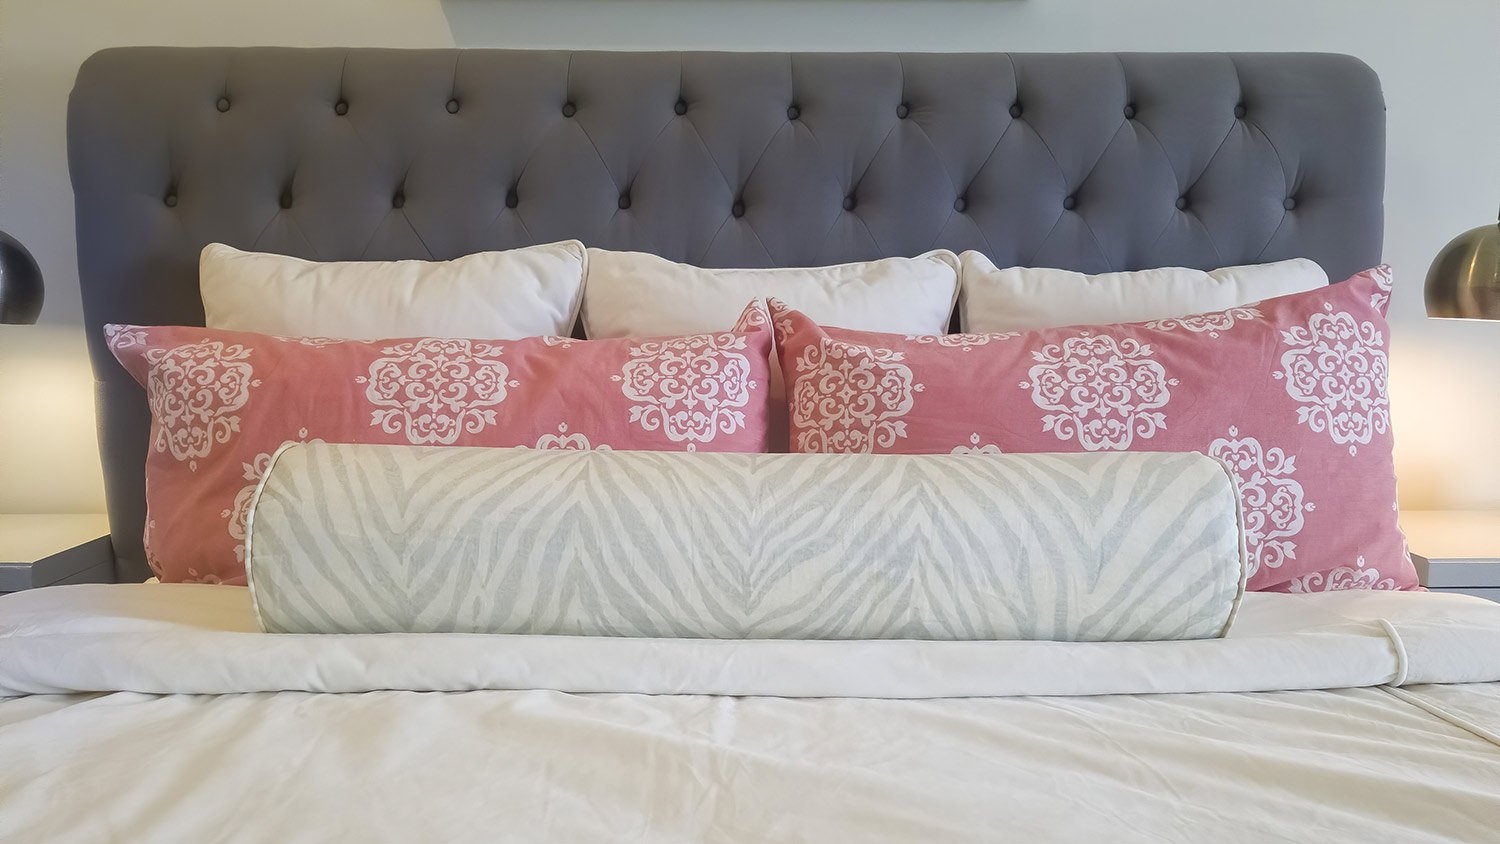
Reassemble or Newly Hang Your Headboard
Photo: Jason / Adobe Stock
Now you’re ready to hang your newly upholstered headboard. If you’re hanging a new one, you’ll need to secure it in place. Metal French cleats can hold plenty of weight securely. The two-part cleat has one part for screwing into a wall stud, and the other part gets screwed into the headboard.
Use a level so your headboard sits straight. Position it so that the bottom sits below the top of the mattress to give the impression it extends to the floor.
Gemma has been a freelance writer and editor in the home and lifestyle space for the past five years and has a bachelor's degree in communication studies.
Gemma has been a freelance writer and editor in the home and lifestyle space for the past five years and has a bachelor's degree in communication studies.
The homeowners guide to Upholstering
From average costs to expert advice, get all the answers you need to get your job done.